|
If it's one thing I've enjoyed about working from home, it's the real-world application of all the digital tools I have learned to use from workshops and courses. My favorite finds though are the ones I stumble upon whenever I scour the Internet for productivity tips. Many of us are working from home and the key to anything during this time, especially if we have kids, is to make sure we're using our time efficiently. I made a collection of screencasts for my students highlighting various apps that I knew they'd need access to during their distance learning. Based on a survey I sent out, more than 60% of my students are working solely with a cellular device therefore, I needed to make sure my screencasts provided that additional support. I had to think of a way to mirror my iPhone to my MacBook so I could create a Screencastify videos displaying how to access GSuite/Office apps both on a desktop and phone. I didn't want to purchase any form of 3rd party application to install a screen mirroring program, so I began my search for the easiest way to achieve this. I found something that is completely free and super easy. Using Quicktime and your iPhone USB! Please note that this method is for Apple devices. I am not sure how it works for Windows, but I can always post an update the screencast once I figure that out.
Okay, so that's done. I don't know about anyone else, but once we started working from home I needed to do some major file management on my laptop. I made a customized desktop background on Canva and customized my folder icons. I made a tutorial on how to do this for your Macbook if you'd also like to check that out.
I hope you can find some use out of these tips and as always, I want to make sure you have something to literally "take away" from this post! I don't want to leave you empty handed! Below is a link to some PNG files for your desktop icons and a customized desktop background for April. Wishing you all the best during distance learning and stay safe! ILC You Online! - Q.
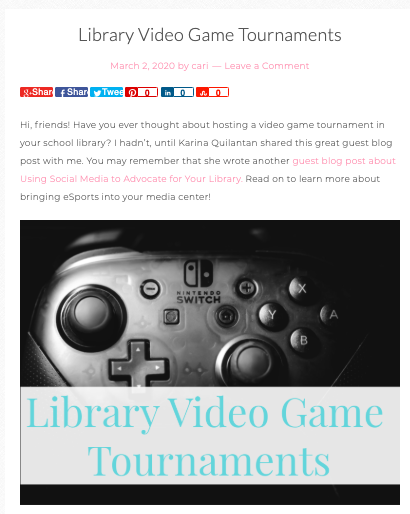
Hello, friends! Check out the guest blog post I contributed to the Library Learners page moderated by Cari White. Make sure to follow her on social media by following Library Learners on Facebook! This blog post goes a little more in-depth about video game tournaments in the library. In the post I do make reference to a Wakelet collection of resources, setting up the tournament on the Switch, and differences in pro-controllers. Check it out by clicking on the image below.
Were you ISTE or ALA left behind this year? Me too. I relied on Twitter and conference hashtags to catch me up to speed on the latest tech featured at this year's conferences. One of the things that I found really interesting was the free content curation and collection site called Wakelet. I had heard about the resource before, but never really sat down to tinker with all its features. Since it's summer, I seized the opportunity to set aside some time and explore the site. My review? I'm officially addicted to Wakelet. I wish I had used this a lot sooner! Creating an account is absolutely free and the platform use is so accessible and easy to use. My main concern with any new digital tool is ease of use and accessibility. Will I use it at least weekly? What can my staff get out of it? Is it simple enough to introduce to my students and keep them engaged? Can I link my standards and comply with student privacy policies? The answers to all those questions were a resounding YES. I can now help my teachers create their own collections to aid in their content planning, assist my students in collecting resources for their research projects, and use this to create library resource collections for my staff and students. The sky is the limit!
The great thing is that when creating a collection, you can add just about any resource. I'd start with picking a specific topic of focus and then adding resources that relate to that topic. You can add links, videos, tweets, bookmarks, images, PDFs, and even upload items from your Google Drive. It also has neat design features such as the ability to create a cover image to your collection. You can do this by selecting images from Wakelet's image library or you can create your own (I LOVE using Canva for this!) and upload the image. If you decide to create your own cover images like I did, the image dimensions are 800x600. You can find the dimension sizes for your avatar, profile header, cover image, and backgrounds here. When you decide to share your collection, Wakelet gives you several options such as linking, embedding, and how you want to display your collections such as in a list, slideshow, etc. I created some collections to collect artifacts that showcase my work as a librarian and resources that showcase my library's programming and activities. Check out my collections below and take advantage of creating a free account! If you have trouble seeing the Wakelet on a mobile device, try accessing the link here.
Using Buncee in the library has had wonderful benefits for my students. They're more confident in their projects and are inspired to create wonderful presentations. I made a Buncee highlighting some of the ways it's transformed my library. As a Buncee Ambassador, I've been able to reach more students about the awesome features it has to offer. Needless to say, students come in waves throughout the day to work on their portfolios, presentations, and creative designs.
I absolutely LOVE using classroomscreen.com. In essence, it's a web-based interactive desktop wallpaper. Instead of finding different widgets, extensions, or apps to help you keep track of timers, calendars, randomized name generators, or noise level meters, Classroom Screen has them all in one place. It has been such a lifesaver for me as I use it to keep track of library activities. I simply decide which tools to use and project it on the screen. I included a video tutorial to feature the tools it has available. I hope you enjoy it as much as my teachers and I do!
|
Archives
May 2024
Categories
All
|

 RSS Feed